


Article: How to Assemble the Pentium Wall Clock
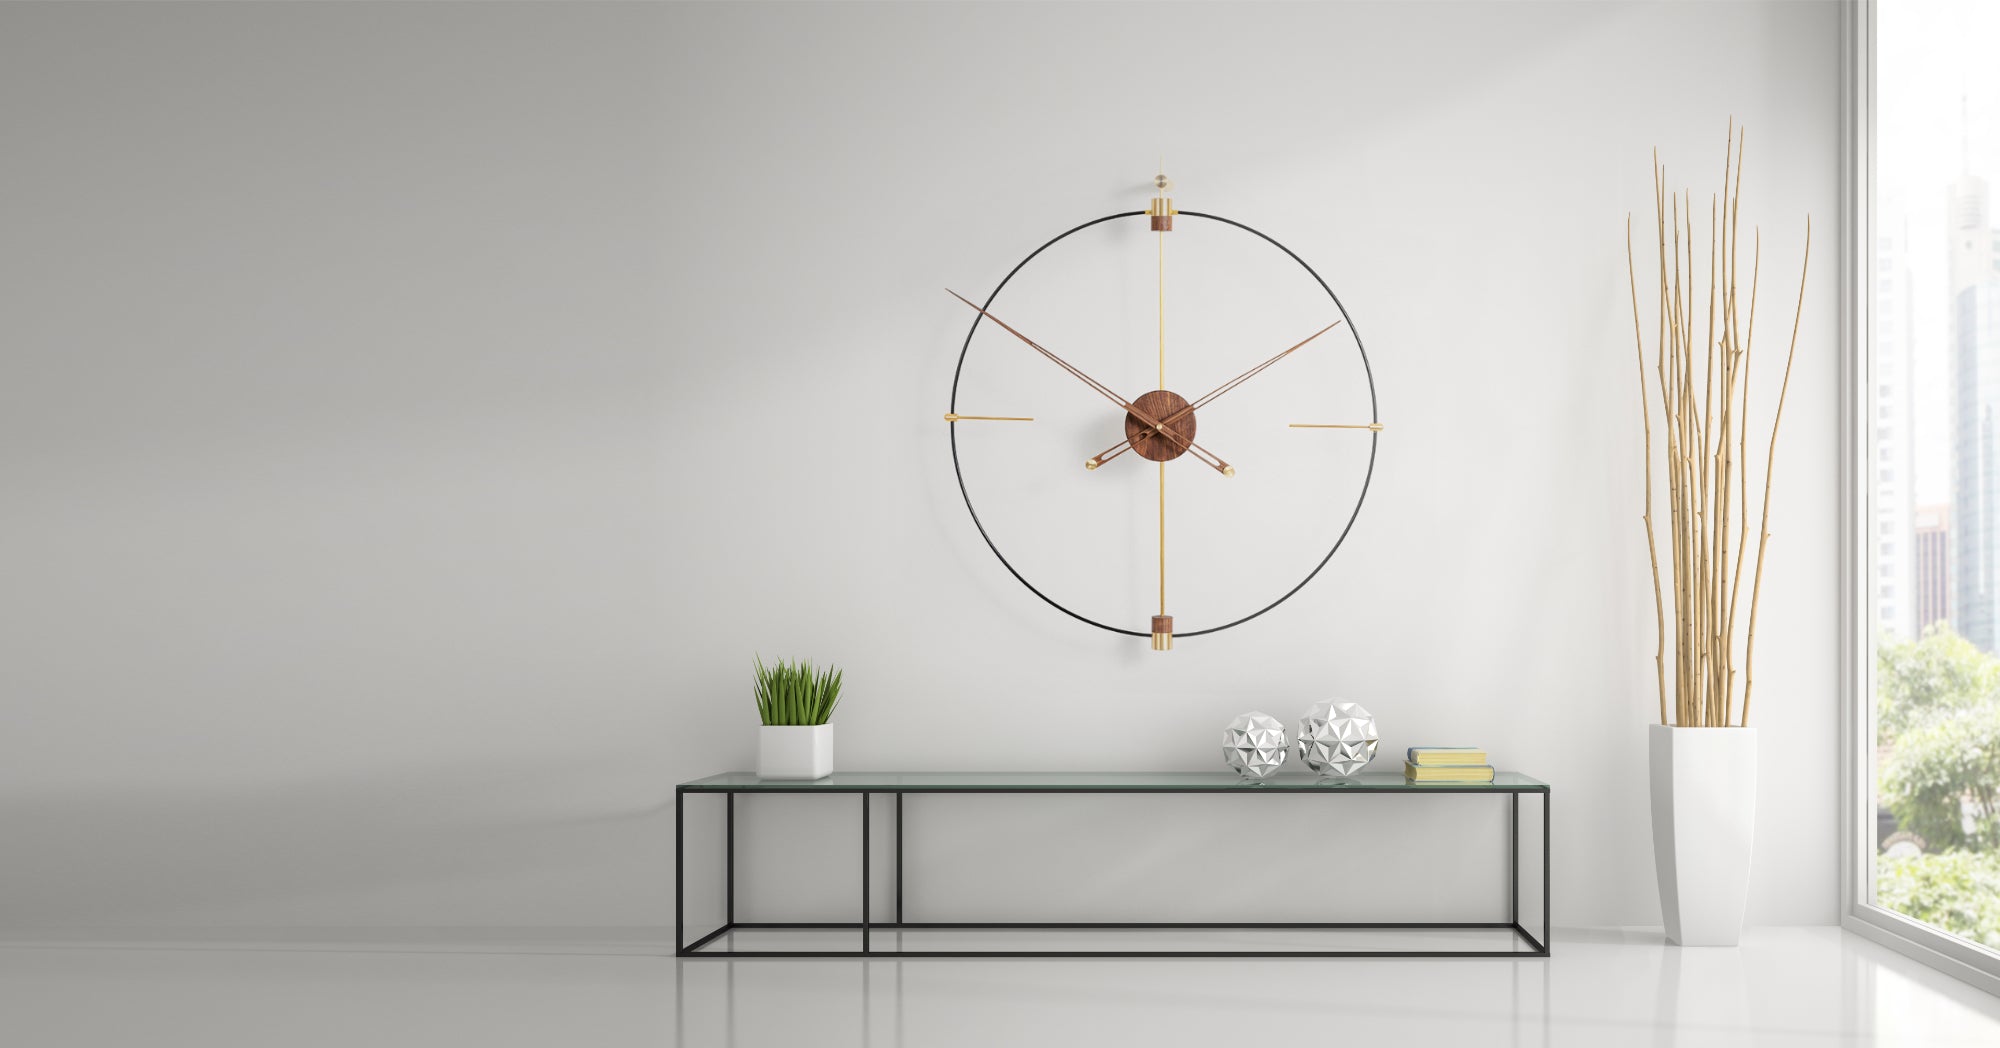
How to Assemble the Pentium Wall Clock
This step-by-step guide will show you how to assemble and install our magnificent Pentium wall clock!
Part 1: Assemble the Center Dial and Hands
For this step, you will need the following items in your package:
- Center Dial (cylinder shape)
- The hour hand (short hand)
- The minute hand (long hand)
Remove the back of the as shown in the picture below. This should reveal the Quartz Mechanism.

Locate the top of the Quartz Mechanism (opposite side of the battery). This is the 12AM/PM of the clock.

Place the hour hand through the shaft/screw (on the front side of the Center Dial) and align the hand to the 12AM/PM mark identified in the previous step. Make sure the hour hand is firmly in place.

Place the minute hand at the very top of the shaft/screw and then spin/twist the entire hand clock-wise until it is tight. Put pressure on the Quartz Mechanism Dial (the dial you use to set the time at the back) as you spin to ensure the minute hand is tight on the shaft. Once it is tight, the hour hand and the small dial on the back mechanism should move as you spin the minute hand.

Make sure both hands are parallel to each other. If they are not parallel, try removing the hands and then repeating the steps above.
 Verify the functionality of the hands by ensuring they can be set accurately. Once you have confirmed their proper operation, proceed to insert a AA battery and reattach the cap.
Part 2: Assemble the Frame
Step 1: Thread the Left (small), Bottom (large), and Right (small) cylinders using the fibre glass pipe.
For this step you will need:
- Left Cylinder (round edges)
- Right Cylinder (round edges)
- Bottom Cylinder
- Fibre Glass Pipe

First, thread the Fibre Glass Pipe through the Bottom Cylinder side openings.

Second, thread the Left and Right Cylinders through the left and right side of the pipe.

Step 2: Make the pipe into a circle and connect it through the Top Cylinder
For this step you will need:
- Top Cylinder

Flip the Top Cylinder around until the wooden hole is aligned to the same side as the wooden hole on the bottom cylinder (see Gif below for reference).

Connect both ends of the pipe to the Top Cylinder side openings to make a circle. Make sure the golden half of the Top Cylinder is pointing outwards/to the ceiling.

Step 3: Thread the Golden Pipe through the Top and Bottom Cylinder, place Quartz Holder Cylinder in the middle.
For this step you will need:
- Golden Pipe
- Quartz Holder Cylinder (shown below)
- Tightening Tool
- Measuring tape
First, thread the Golden Pipe through the Top Cylinder.


Before you connect the golden rod to the bottom cylinder, thread the Quartz Holder Cylinder through the golden rod as shown below. Once the Quartz Holder Cylinder is threaded through, connect the golden pipe to the Bottom Cylinder.

Tighten the Bottom Cylinder and Top Cylinder using the Tightening Tool.

Measure the Golden Pipe using a measuring tape and place the Quartz Holder in the center.


Lastly, tighten the Quartz Holder Cylinder in place using the Tightening tool. Make sure the hole used to tighten the Quartz Holder Cylinder is pointed perfectly outwards (towards the ceiling if you have the clock laid out flat like the picture above).
Step 4: Attach the Wooden Dial Holder
For this step you will need:
- Stub nail
- Wooden Dial Holder
- Screwdriver
First, take the Stub Nail and Wooden Dial Holder and place it on top of the Quartz Cylinder Holder from the last step.


Second, make sure the magnets on either side of the Wooden Dial Holder is aligned with the Golden Pipe (see below). Then, screw the Stub Nail into the Quartz Cylinder Holder tightly.

Step 5: Attach the Short Golden Pipes to the Left and Right Cylinder
For this step you will need:
- Short Golden Pipes
Screw in the Short Golden Pipes to the Left and Right Cylinder that is attached to the clock from Step 1 (but not too tightly!)

Part 3: Hang Your Clock!
You're almost done! Just a couple of more steps to go.
Step 1: Connect the Long Hanger Cylinder with the Long Screw
For this step you will need:
- Long Hanger Cylinder
- Long Screw
- Tightening Tool
Screw the Long Screw into the hole of the Long Hanger Cylinder.


Step 2: Place the Long Screw into the hole in your wall
Place the end of the long screw into the hole in your wall. Make sure the side holes of the Long Hanger Cylinder is facing up and down to the ground and ceiling.


Step 3: Attach the Golden Pipe
Insert the Golden Pipe from the clock into the Long Hanger Cylinder from the bottom. Tighten the clock using the Tightening Tool


Final Step: Finish up!
Connect the magnets from the Center Dial with the magnets in the Wooden Dial Holder


Position the Left and Right Cylinders accordingly and tighten the Short Golden Pipes.

Adjust the time..

And you're done! If you have any questions regarding these steps, please email us at contactus@clockcanvas.com.
Written by Wilson Le